Every European country has its own VAT tax rates. I don't want you to waste time on finding and adding them to your store. Use the WooCommerce EU VAT CSV file I prepared for you.
EU VAT in practice
If you sell your products in EU to the individual customers, you add your origin's VAT tax. For example, your store is in Germany and you sell to France. You add VAT tax to your products in Germany.
There is another case for digital products and services. You use your customer's country tax then. In the previous example, you should add VAT tax from France.
This concerns B2C transactions only.
If you sell B2B, then you should charge your customer the zero rate. The customers calculate VAT taxes themselves.
In this case, the customer needs to provide its VAT EU number. Check out how to add the VAT EU field to your store.
You may also be interested in the Flexible Invoices WooCommerce plugin. Read how to invoice in the European Union using WooCommerce and issue MOSS invoices right away. See how the plugin can also add a conversion table with rates automatically taken from the European Central Bank for invoices with the VAT for such MOSS transactions.
How to configure EU VAT tax rates
The process is quick and simple. In short:
- Create a new tax class.
- Download the WooCommerce EU VAT CSV file
- Set rates for the new class (by importing the file).
- Assign the class to your digital products.
I'll guide you step by step.
Create a new tax class
Go to WooCommerce → Settings → Tax:
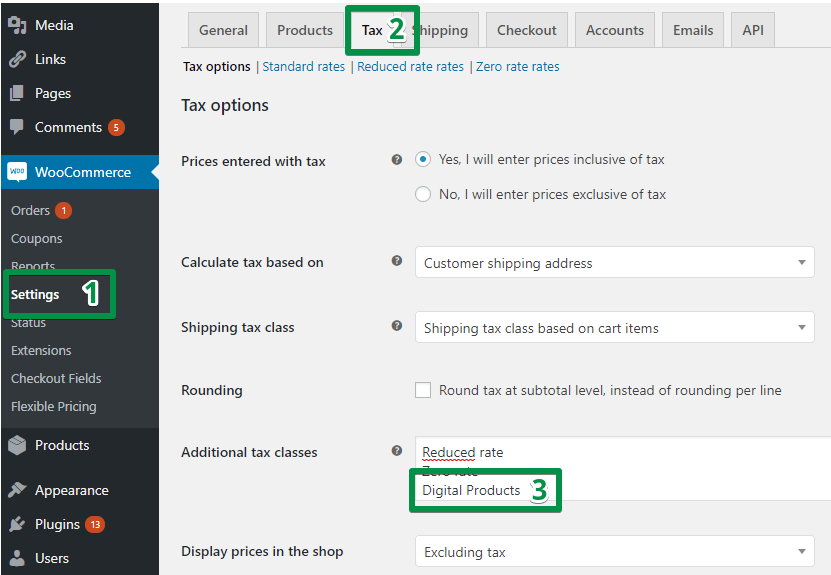
Add additional tax class. You can name it whatever you want. I named it 'Digital Products'. A user will not see its name.
Once you save the settings, a new link shows up:

You will import the WooCommerce EU VAT CSV file there in the next step.
Download WooCommerce EU VAT CSV file
The file is very simple in its structure:
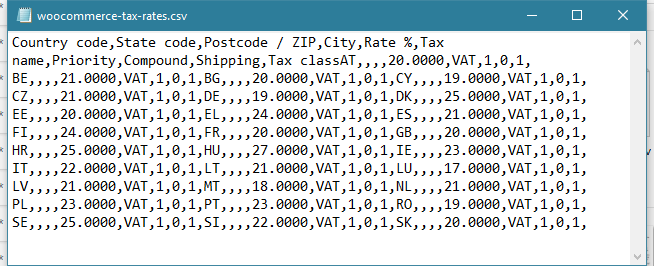
It contains all the EU VAT rates. I took them from the Your Europe website on 14th December 2020.
Import WooCommerce EU VAT CSV file
Once you download the file, you can import it into your store:
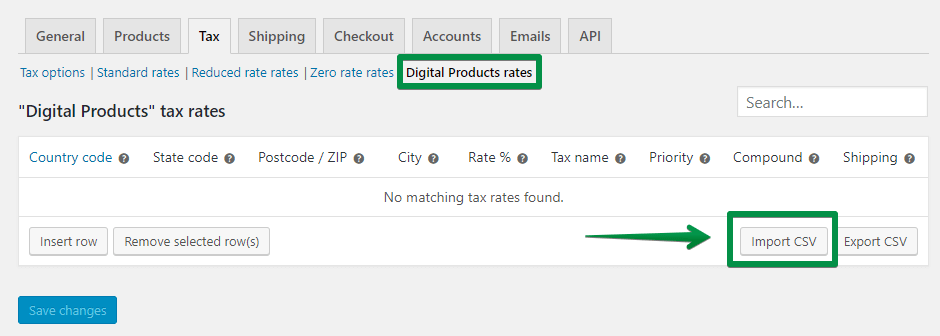
Select a file in the next step and click the 'Upload file and import' button.
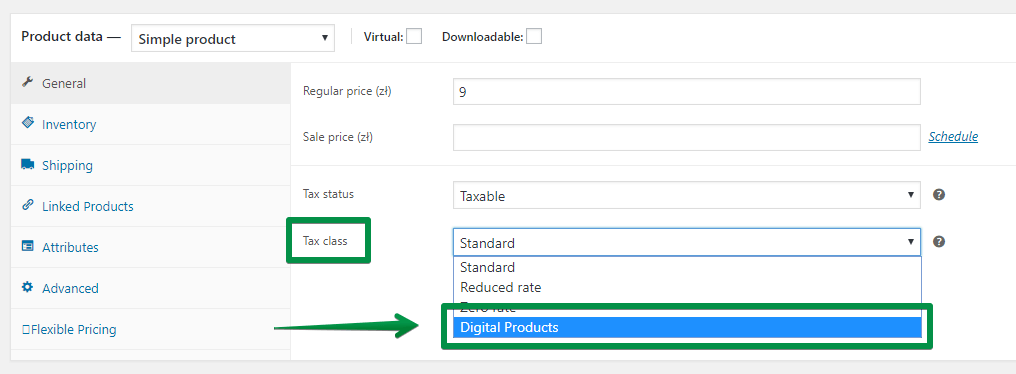
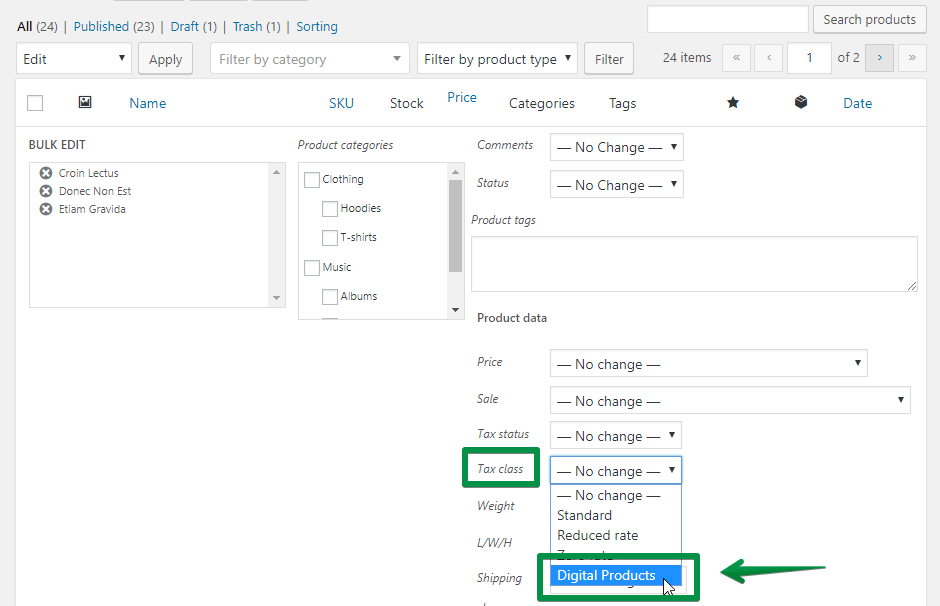
Assign the class to your digital products
Go to your products settings. Select your new tax class in the Tax class option:
You can edit products in bulk, too:
Summary
In this article, you have learned how to set EU VAT taxes in your store. Let me know if my WooCommerce EU VAT CSV file was useful for you! I'm looking for your feedback in the comments section below.
Do you need more information about taxes in WooCommerce? Read our WooCommerce Taxes Guide →
